Wednesday, May 1, 2013

ART SHOW

CES ART SHOW
The artwork on display was
made to emulate these styles, artists, art forms and cultures.

Jasper Johns & Abstract Expressionism

German Expressionism (Erich Heckel)

Wayang Kulit (Indonesian Shadow Theatre)

Wayne Thiebaud & Pop Art

Fauvism (Henri Matisse)

Adolph Gottlieb

Arthur Dove

Faith Ringgold Story Quilt

Giuseppe Arcimboldo

Joan Mirรณ


Bridget Riley & Op Art

See older posts to read about how these pieces were created and to learn about the life and work of these artists.

Wednesday, February 20, 2013

Op Art and Bridget Riley

Kindergartners began this project by looking at a series of Optical Illusions. We defined this term as "pictures that trick your eyes into seeing something that isn't really there." This 
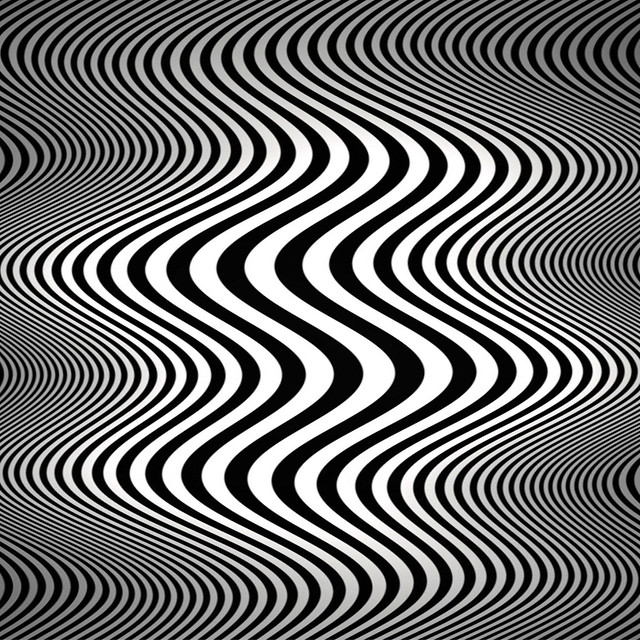
LINK has a series of different optical illusions, some of which are truly bizarre. Most of the examples we looked at were black and white and created the illusion of movement.
The one labeled "Ouchi Illusion" was roughly the basis of our experiment. It works on rapid movements of the eye of which we're usually unaware. This all sounds like science rather than art, but that's the great thing about the arts, they borrow inspiration from the world around them. 
The artist in the picture is Bridget Riley, certainly the most well-known artist from the Op Art movement. These artists incorporated the science of optics to add an additional dimension to their abstract artwork. Below are some examples of Riley's artwork.


To create our artwork, we used white paper and permanent markers. In order to create the solid areas of black to contrast with the blank paper we had to concentrate on filling in any left-over white spots; that kind of obsessiveness required us to work on small scale, in contrast to Riley's work which was often quite large. My hope is that by displaying the artwork densely packed together we can recreate that large-scale effect in our hallways!

The key to Op Art is precise draftsmanship. We used rulers to create horizontal and vertical lines intersecting to form a grid. We mapped out our checker pattern by placing Xs in the alternating squares. We had to make two identical versions of these grids so that we could cut-out and glue the center of one (slightly askew) to the center of the other. In order to make identical grids, we used carbon paper, a material we were familiar with from our Jasper Johns projects. 

One of the pieces in this group is slightly different than the rest. A student came to me having accidentally cut a circle out of the center of BOTH of his squares. This actually provided an opportunity to experiment a little more. He glued the leftover scrap from one to a piece of backing (construction paper) and then reinserted the center, turning it slightly askew. The other circle he cut down to a smaller size and glued that to the center of the bigger circle. It's possible that his mistake might become an additional step the next time I do this project!

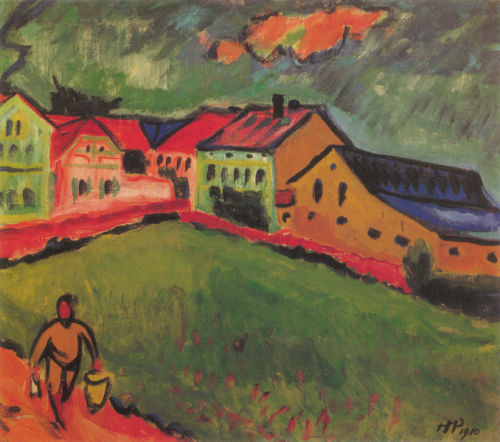
There was one odd question from a student in one of my classes. When we looked at a picture of Bridget Riley and learned her name a student asked "Why a girl?" The student was unable to elaborate exactly what he meant by the question (i.e. why NOT a girl?) but it makes me think I should put more effort into featuring more female artists. For instance, many of the examples of artwork we looked at in our German Expressionism project were by Gabriele Munter--a female artist--but we never referred to her as an individual but rather as a member of a group, and we certainly never saw a picture of her. It may be that more prominent artists in the history of Western Art have been men due to restricted access to education, but if that trend is going to be subverted  into the future so that more girls grow up imaging the possibility of becoming a famous artist it's important that young children not unconsciously associate the word "artist" with a purely masculine model. Food for thought for me. 
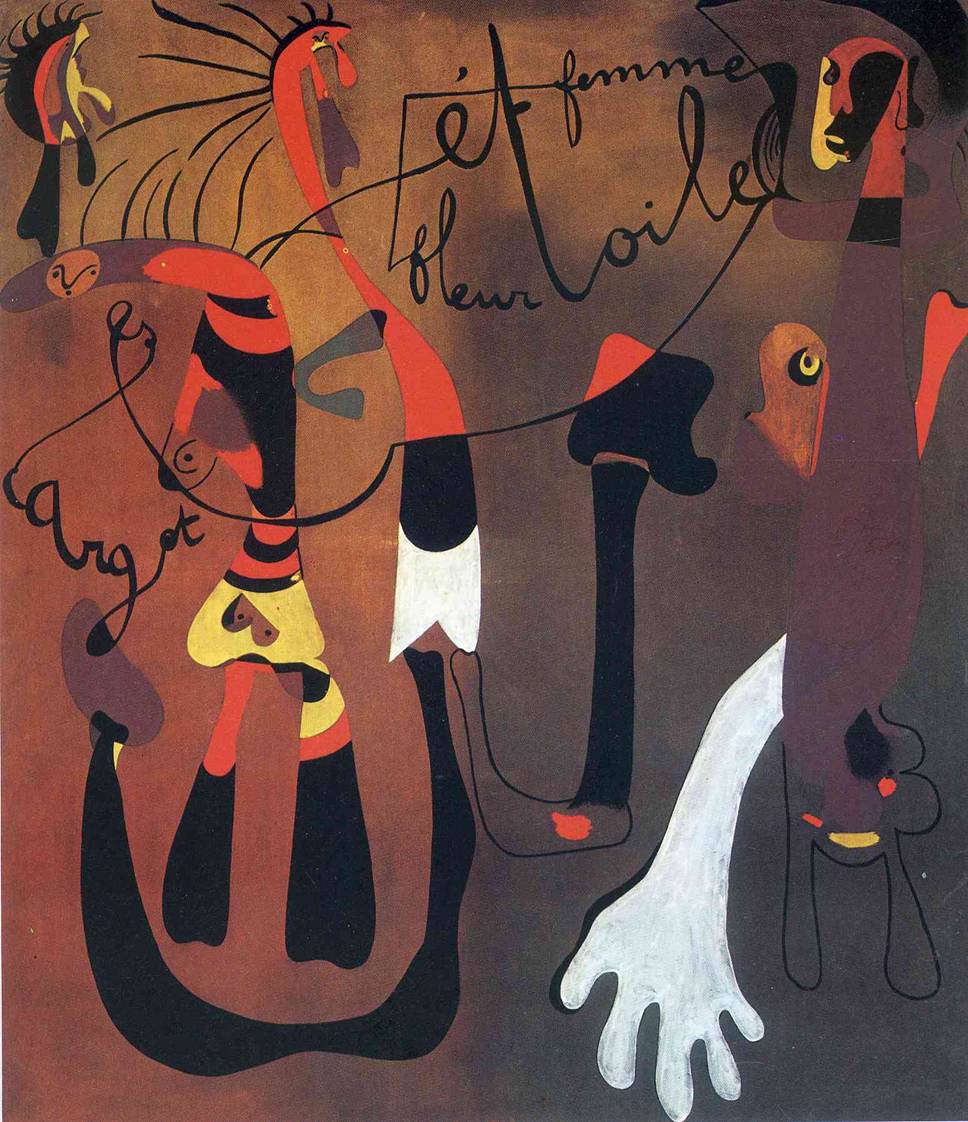
Self-Portraits


This is one of my favorite projects. The fact that the kids are making pictures of themselves is almost automatically engaging. They love using the mirrors when trying to reproduce their own personal hairstyle.

I made sure to stress that we are learning just ONE way of portraying a human face and we looked at examples as varied as Giacometti, Da Vinci, Kokoschka, Escher and Cezanne.

Our biggest challenges was placing the features correctly on the face. The stubbornest misconception is that the eyes belong nearer to the top of the head than to the bottom when in fact the eyes almost always fall EXACTLY halfway between the top of the head and the chin. We measured a photograph just to be sure. The kids laughed at photo-shopped images of a person whose eyes are roughly where the forehead ought to be; whether you compensate by lengthening the nose or moving the mouth higher away from the chin, it just doesn't look quite right.


Although we all could SEE the problem, we still had to fight an instinctive urge to place the eyes too high. Luckily, our model was Amedeo Modigliani (http://www.theartstory.org/artist-modigliani-amedeo.htm#), whose portraiture usually includes a little distortion and elongation!
 
 
The kids' work is looking great so far! Many students had to overcome a perfectionist streak and an intense need to erase anything on the page that didn't match up to the picture in their head of what their picture "should" look like (or maybe, since it's a self-portrait, it was just vanity). I saw sooo many really great pictures being erased that I confiscated the erasers and we had a discussion about who an art critic is and what they do. I tried to convince them that they were being particularly harsh critics of their own work, and we practiced the difficult skill of embracing chance and inadvertent strokes of brilliance. Their pictures are really incredible!


That vertical line through the center of the top two pictures puzzled the kids at first and perhaps felt like a blemish on their meticulously created masterpieces, but they seemed okay with it and even excited once they heard what its purpose was. I'll save that piece of information for a later post.

Tuesday, February 19, 2013

What We've Been Up To Lately

Kindergarten:

  • German Expressionist Landscapes
The German Expressionists used thick, dark outlines and vibrant colors. Examples by the artsists Max Pechstein (left) and Erich Heckle (below).


These are paintings by our students. They learned about foreground, middleground and background. They were challenged to experiment with color mixing without letting their colors turn "muddy."


  • Jasper Johns: Pop Art & Abstract Expressionism
Jasper Johns chose "boring" subjects for his paintings so that they could be appreciated for their style rather than their content. 


Students learned about monochromatic painting. They learned how to create tints (a color + white) and shades (a color + black) to create areas of light and dark. They painted using a number of methods: with a brush, with a sponge, and with a spray bottle. 


First Grade:
  • Wayne Thiebaud (pronounced: TEE-bo, I think)


Above are examples of Wayne Thiebaud's paintings of cakes. His style was partially based on the advertising of his time, which used heavy shadows and bright colors. To the left and right are examples by CES students.


For this project, students learned how to draw a 3-D shape (a cylinder) in a 2-D picture. After drawing their cylinders they were challenged to create a gradual change from light to dark along the sides to create the impression light striking from one direction. The top of their cylinder was designed to make the cylinders look like cakes. Finally, the cylinders were cut-out and glued on a separate sheet of paper on which students drew a cast shadow. They had to figure out how to make the cast shadow agree with the shading on the cake.
  • Adolph Gottlieb Pictographs
Above are paintings by the artist Adolph Gottlieb from a series called Pictographs. For our versions (examples below) we created a grid and colored it with "muted" colors. To created muted colors, students consulted our classroom color wheel and combined colors that were across from each other (purple-yellow, red-green, blue-orange). Over these squares students drew symbols taken from astronomy, ancient language, modern language, mathematics and music.


Chinese New Year: Lantern Festival Info

Recently in art we've taken a break from our current projects to join the other specials classes in learning about Chinese New Year and the cultural traditions of the world-wide population of peoples who celebrate this holiday. By the time I had a chance to meet with my classes they were already incredibly knowledgeable on this subject from their activities in their other classes and from the extremely valuable testimony of students whose families celebrate Chinese New Year, so we focused on a single piece of the picture. 

I didn't realize until preparing for this project that Chinese New Year is really a conglomeration of several related celebrations lasting a total of 15 days! The last day was the inspiration for our work: The Lantern Festival. A found a nice, succinct and--I believe--reputable account of what the Lantern Festival represents and how it is celebrated around the world. The link below leads to an article on the Chinese Historical Society of Southern California website. 


Art Class in the 21st Century

Our classroom twitter feed can be seen here https://twitter.com/CES_ArtStudio. Look for updates about what's happening in our room, photos of student artwork and students' own ideas about what we've learned and accomplished.

140 characters is a bit limited to truly give an impression of the kind of work your kids are doing at CES, so this blog is meant as an opportunity to elaborate on what is happening in the CES art studio. Of course I believe every student who goes in and out of this room is capable of explaining what they did here, but I truly hope that "what" is built on a solid foundation of the "why". Everything we do is based around artists, artistic movements, art forms or cultural traditions from around the world, and CES students have shown themselves to be eager to learn about and make their own connections between these aspects of the art world.

Here I can provide links to additional information for children and families that wish to learn more about the subjects we touch on in class as well as images and descriptions of what our preschoolers, kindergartners and first graders have been making.

I'm new to blogging and twitter, so bear with me as I figure out the best way to bring information to you. Please feel free to send me any messages or requests about how to serve this goal better!